
The Shock Box was a project that I concocted up after our family drew names for Christmas 2019. I have a history of giving rather devious gifts at Christmas time:
| From my reinforced strapping tape and baling wire cages |  |
| To my sealed boxes dipped in cement |   |
So I felt that this year I needed to do one better. I asked several family members for ideas including the recipient’s sister. She suggested the wonderful idea of the gift electrocuting him in some way, she “wanted it to hurt.” Thus, the Shock Box was born.
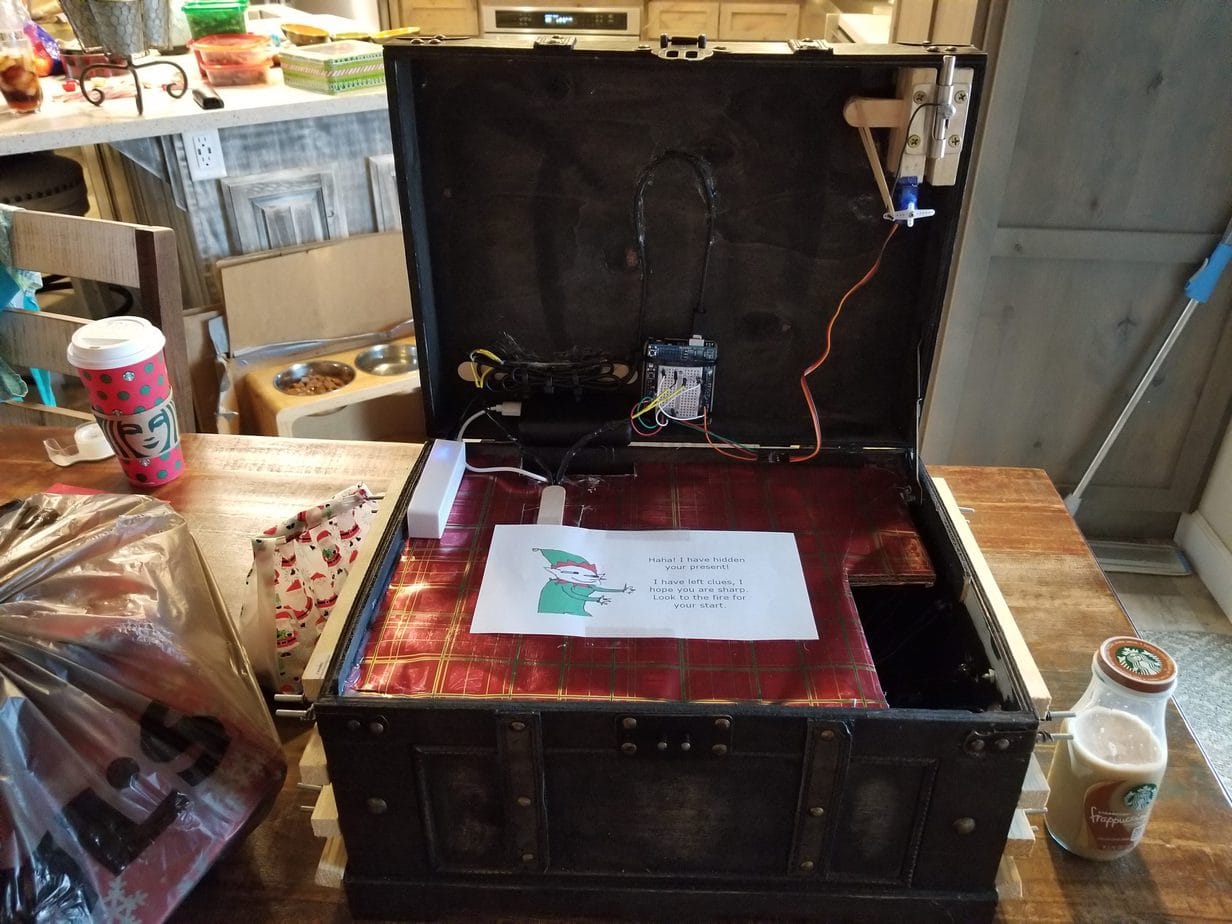
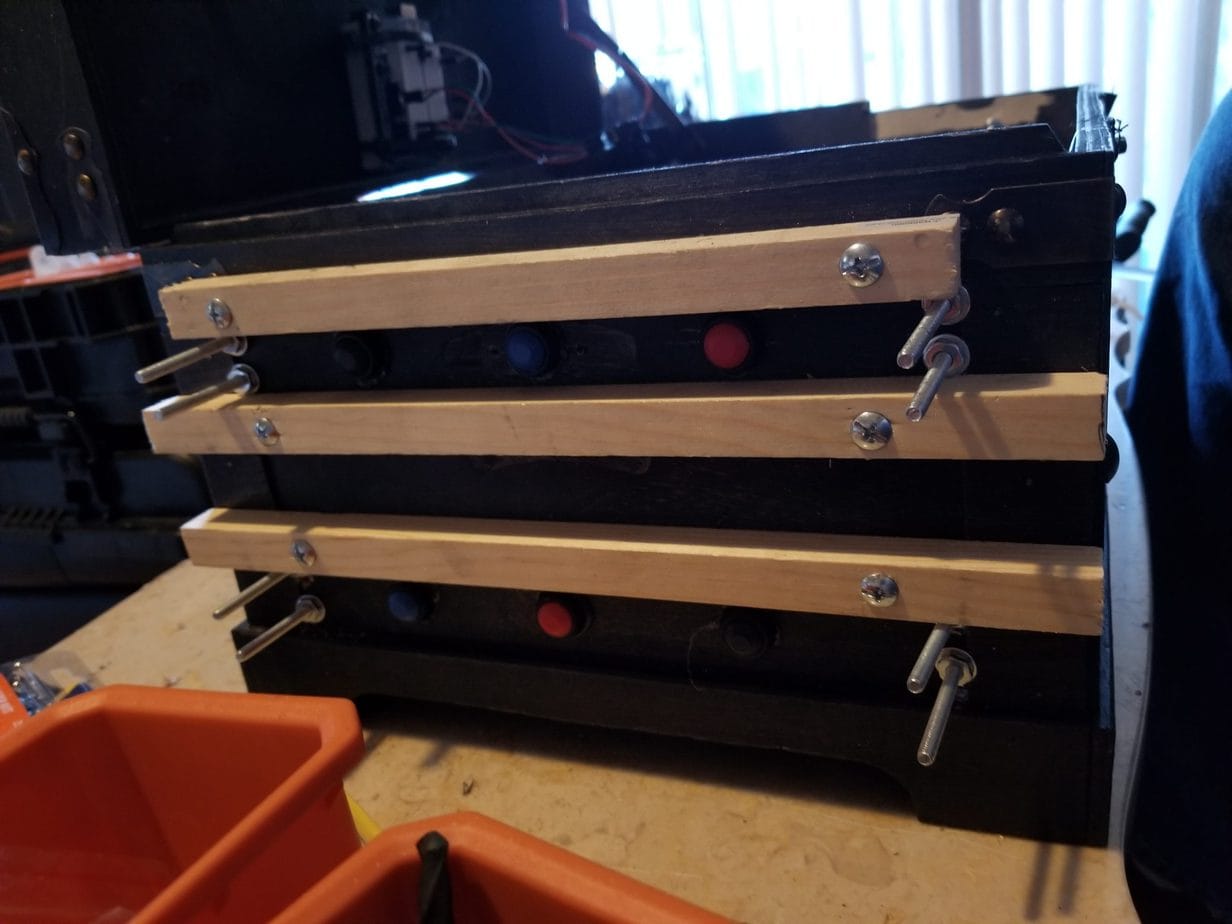
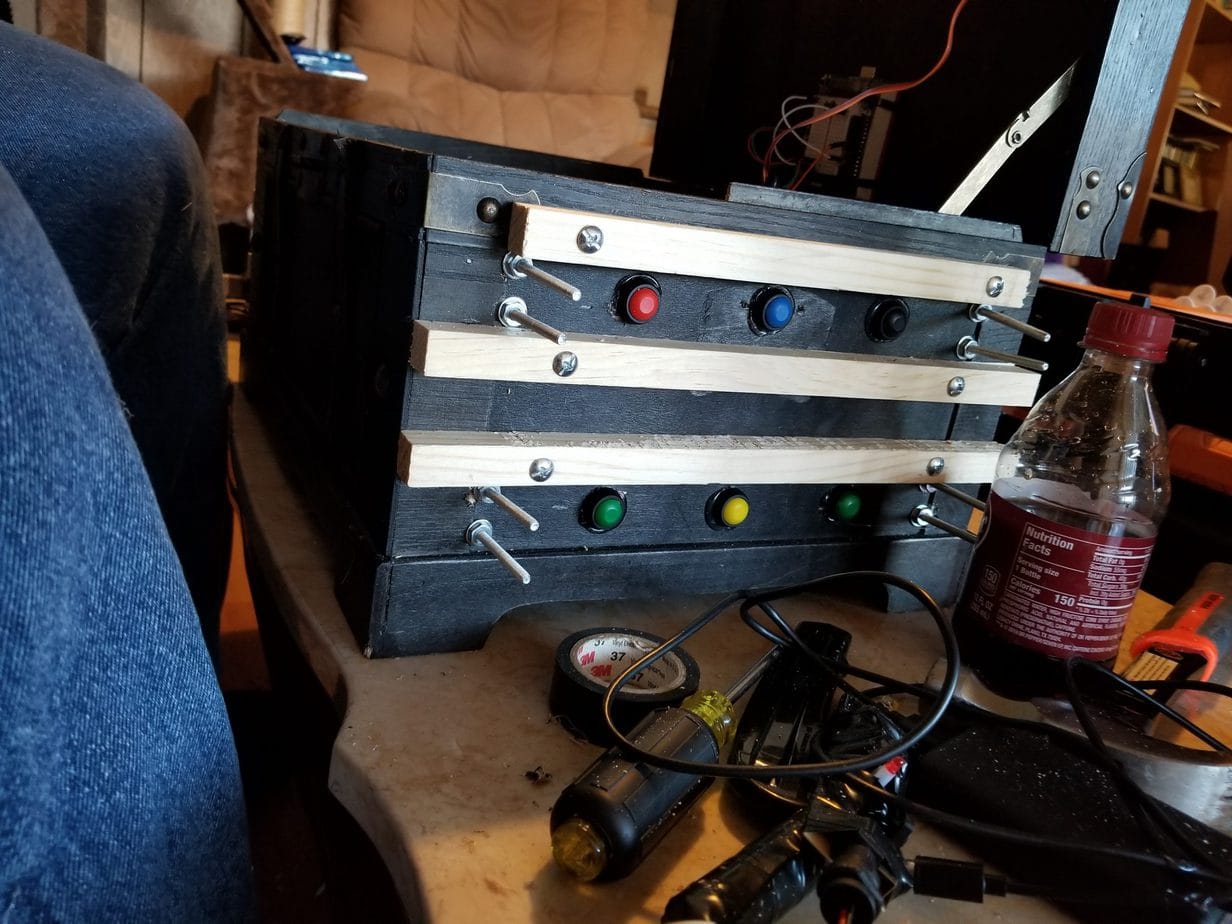
The original idea of the shock box was to make it something like a puzzle box. Each side of the box would have 6 buttons and if the 2 correct buttons were held at the same time, the box would open and the present would lay inside. While it was a fun idea and was cool from an electronics standpoint, it didn’t really satisfy the sister’s request of it hurting. So to take it up a notch, the other 10 buttons would be wired into an electric fly swatter that would release about +-1800v (after the resistance of the metal), releasing a shock through baling wires running along the top and bottom of each button row.
Parts:
The design of the box was fairly simple. I used some past tinkering ideas to bring it all together in less than a week. Note, the items and links are more of just a reference for you – any variant of these items should do the trick.
| Quantity | Item | Est Cost | Notes |
| 1 | Decorative Storage Box | $25 | Really any box that has a hinged lid that you can drill holes into for the momentary push buttons and window bolt. |
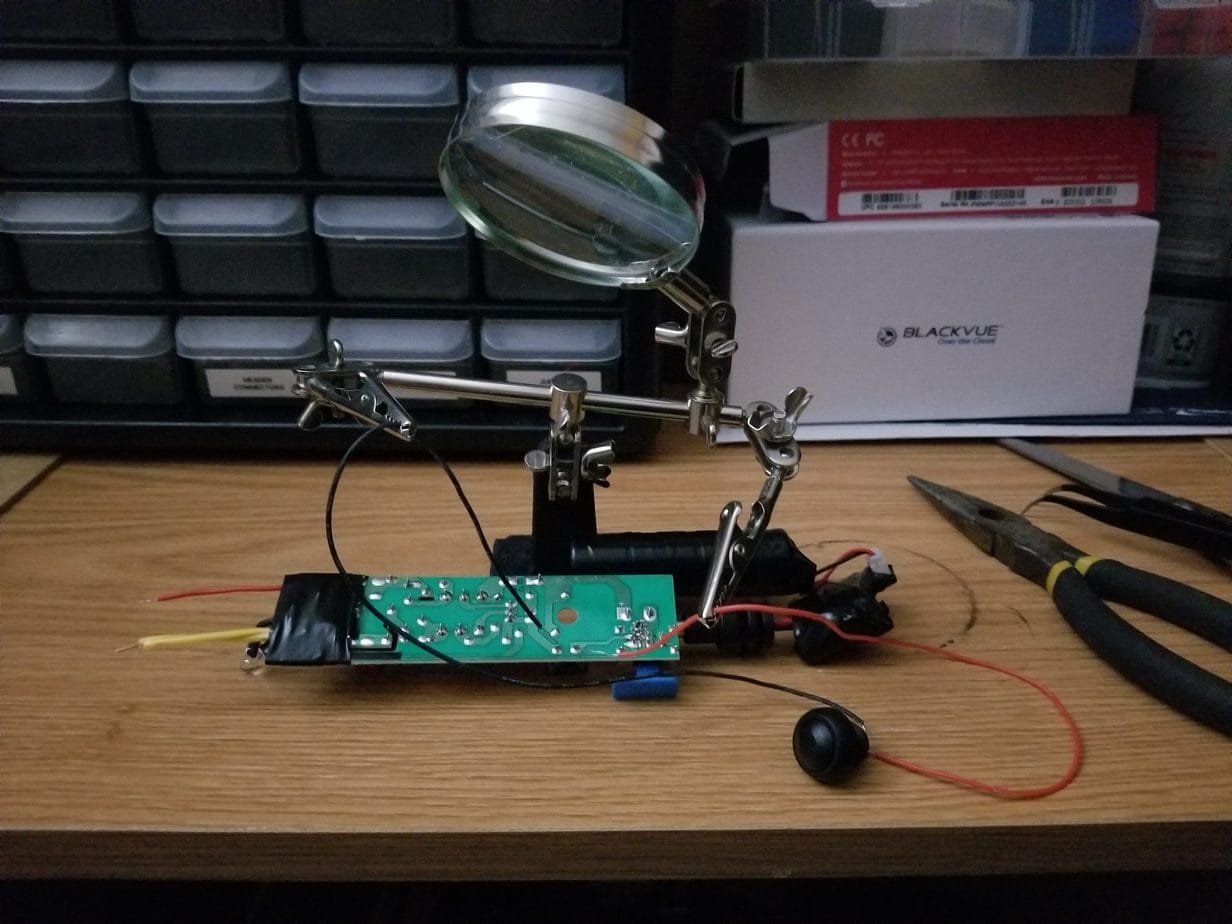
| 1 | Electric Handheld Bug Zapper (4000 to 8000 volts) | $25 | This is what we’ll use to deliver our shock. A taser would theoretically work here but…. that might be a bit much. |
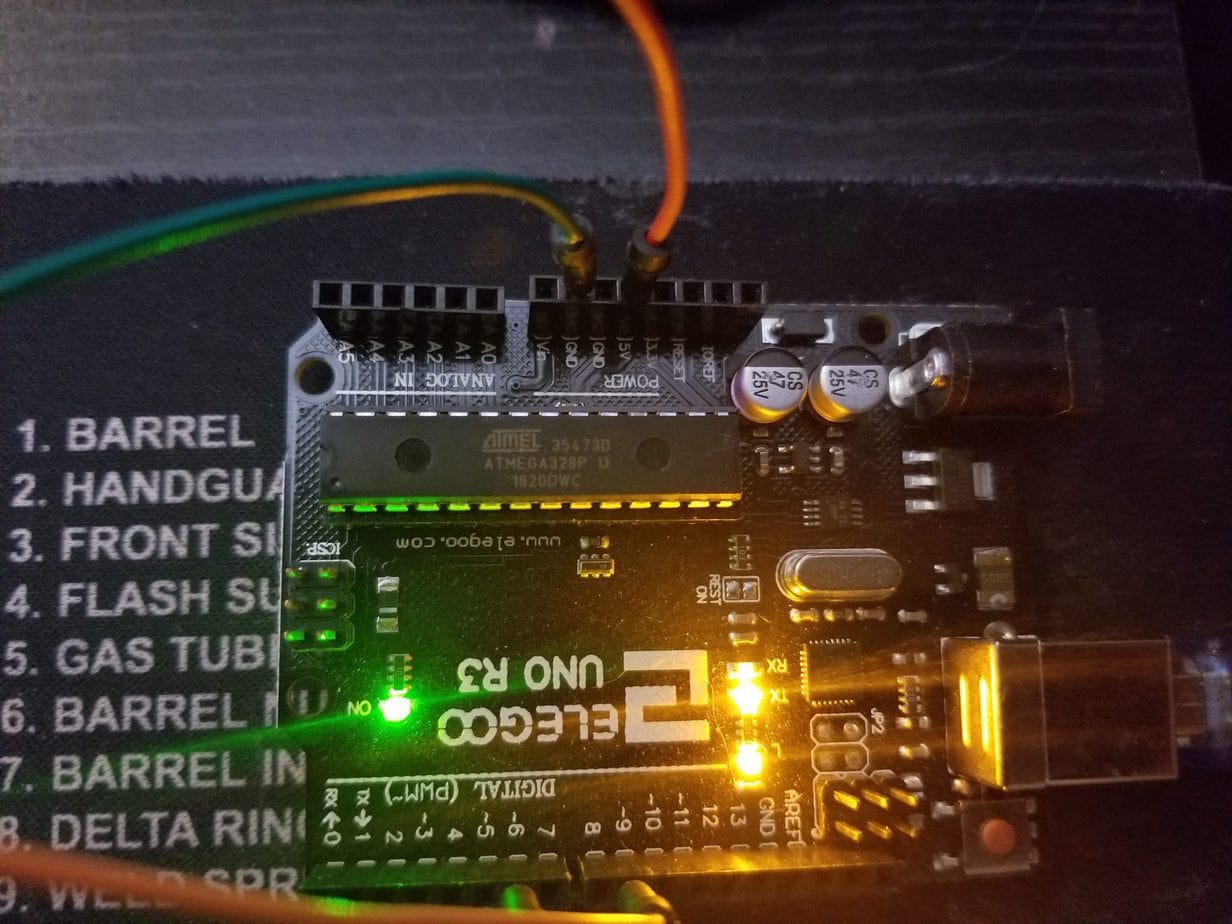
| 1 | Elegoo UNO R3 Microcontroller | $14 | The microcontroller used to control the servo-locking mechanism. You could use a standard Arduino UNO board here, but this is a cheaper option |
| 1 | Servo | $2-$3 | |
| 12 | 12MM Momentary Push Button | $11 | Make sure these are momentary push buttons, the size of which is rather arbitrary as long as they meet your requirements. |
| * | Electrical Wire | $10 | Some electrical wire that you can use to wire between the buttons and the microcontroller, the buttons and the electric fly swatter, and the fly swatter to the metal prongs. |
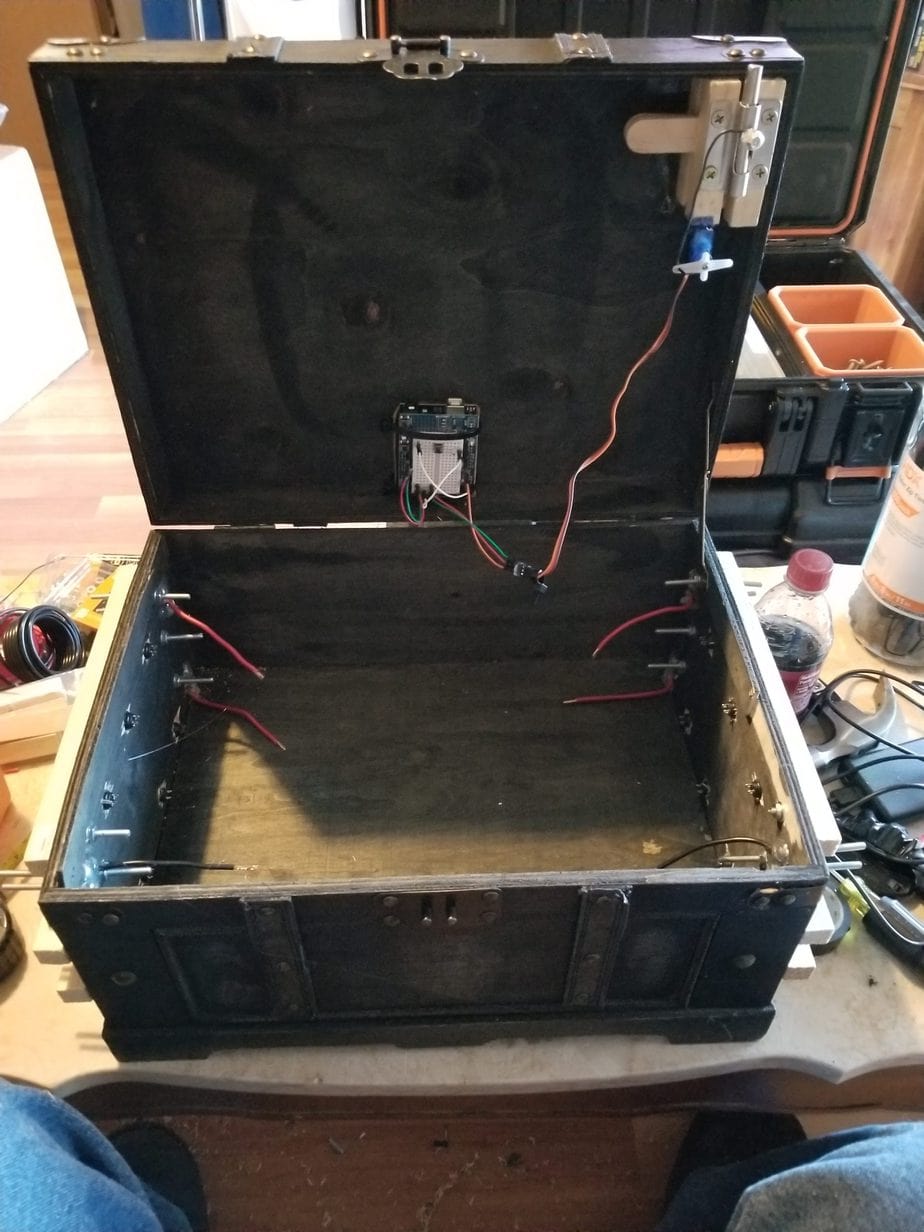
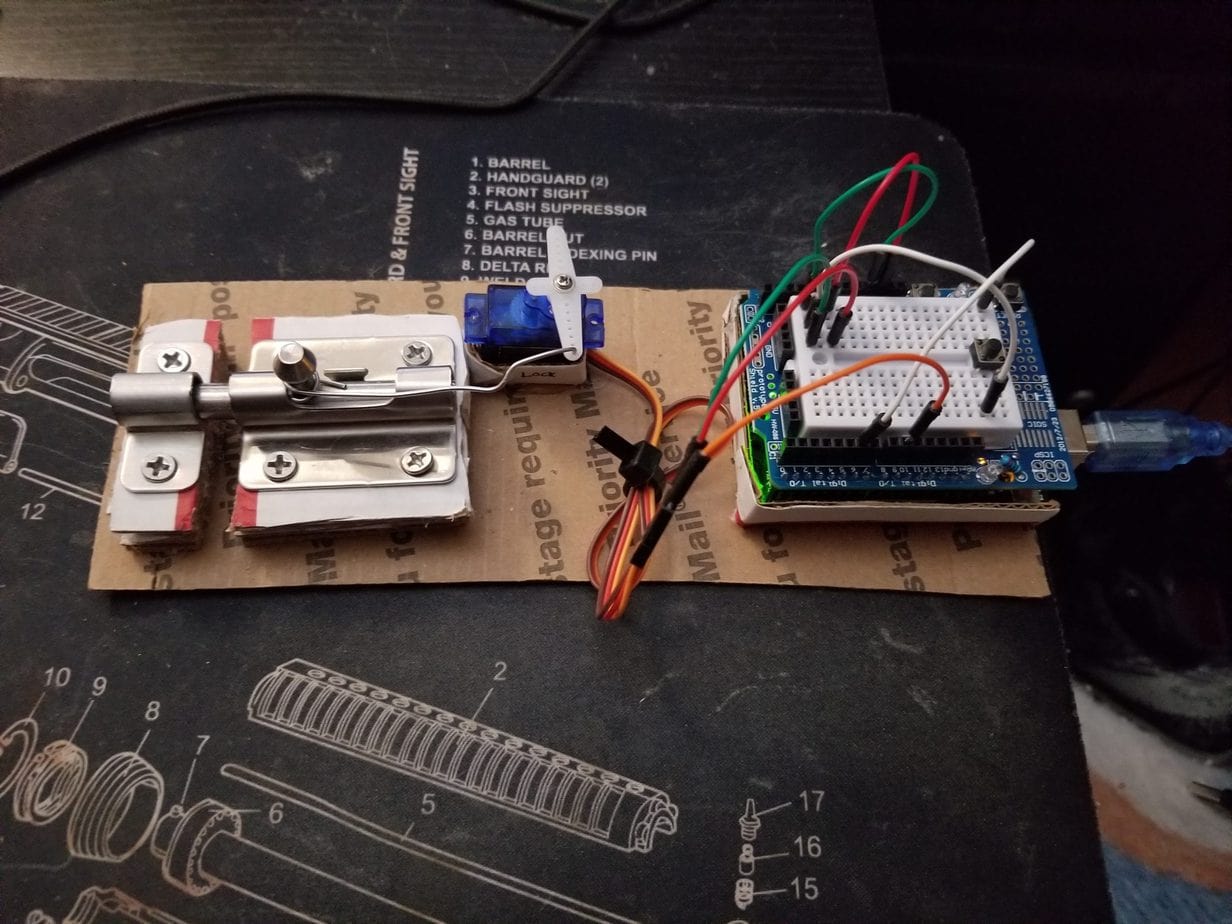
| * | Window Bolt Lock | $3 | This is the actual lock for the box. In my design, I use the servo to slide the bolt lock in and out of position. |
Total Cost: ~$96
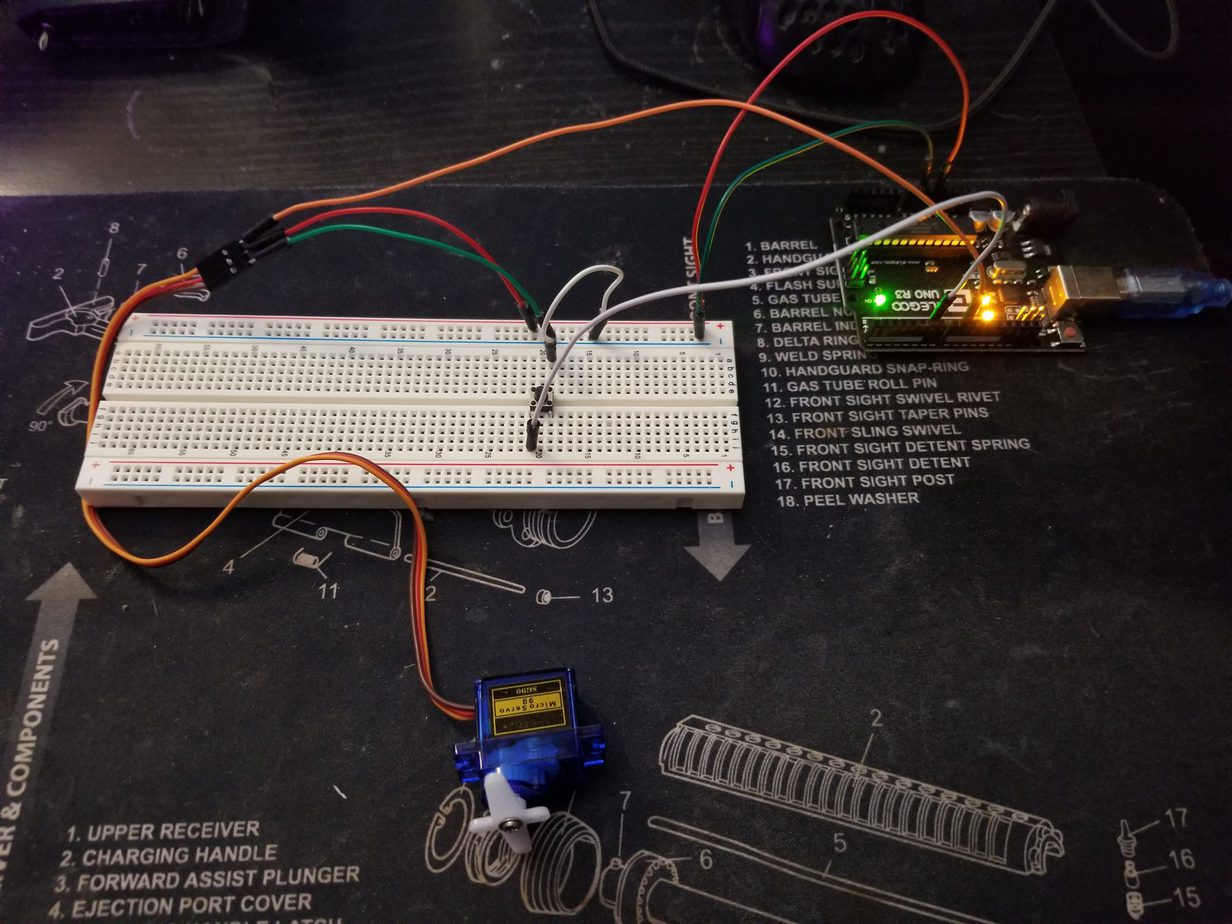
Microcontroller Code:
The code for the microcontroller was relatively straightforward to the program. The only requirements I had were:
- The default state of the servo needed to be locked.
- The servo needed to unlock the device when powered & when the proper button was pressed.
Here’s the code:
#include <Servo.h>  // add servo library
#define switchPin 6

Servo myservo;  // create servo object to control a servo
const uint8_t MAX_POSITION = 70;//180;
uint8_t servoPosition = 0;

void setup() {
  // Set the data rate
  Serial.begin(9600);

  // Set switch pins
  pinMode(switchPin, INPUT_PULLUP);

  // Attach the servo on pin 9 to the servo object
  myservo.attach(9);

  // Set the servo to position zero+
  myservo.write(0);
  delay(100);
}

void loop() {
  if (isSwitchPressed() == true) {
    // If we are already there, don't go farther
    if (servoPosition == MAX_POSITION)
      return;

    Serial.println("Rotating");
    Serial.println((String)"Starting Servo Position: " + servoPosition);
    for (servoPosition = 0; servoPosition < MAX_POSITION; servoPosition += 1) {
      // Rotate the servo
      myservo.write(servoPosition);

      // Give the servo time to work
      delay(15);
    }
    Serial.println((String)"Ending Servo Position: " + servoPosition);
  }
  else {
    // If we are already there, don't go father
    if (servoPosition == 0)
      return;

    Serial.println("Resetting");
    Serial.println((String)"Starting Servo Position: " + servoPosition);
    for (servoPosition = MAX_POSITION; servoPosition > 0; servoPosition -= 1) {
      // Rotate servo
      myservo.write(servoPosition);

      // Give the servo time to work
      delay(15);
    }
    Serial.println((String)"Ending Servo Position: " + servoPosition);
  }
}

bool isSwitchPressed() {
  if (digitalRead(switchPin) == 0) {
    return true;
  }
  else {
    return false;
  }
}